 Aitopkit
⚡ Quick verdict
- Start here → shoot with your phone, then use Pixelcut or Photoroom. Both remove backgrounds in one tap and have free plans.
- Best styled scenes → Flair AI. Place your product on a canvas and build a lifestyle scene around it.
- Fastest one-click scenes → Pebblely. Upload, pick a theme, done.
- Best cleanup for bad phone photos → Claid. Enhancement and upscaling that rescue blurry shots before anything else.
- Best all-rounder you may already have → Canva. Background removal, text, and social sizes in one editor — but the remover is a Pro feature.
We may earn a commission if you buy through our links, at no extra cost to you.
A good product photo used to mean a studio, a camera, lights, and a photographer. In 2026 it means a phone, a window, and about fifteen minutes. AI tools can cut your product out of a messy background, place it in a believable scene, fix the lighting, and sharpen it to listing size — and the free tiers are good enough for a brand-new seller to photograph a first catalog without spending a dollar.
But the tools are only half the job. AI cannot rescue a dark, blurry, crooked shot, and it will happily invent details your product does not have — a warped label, a wrong color, a handle that was never there. This guide covers the full workflow in plain language: what AI product photos are, what you need, how to shoot, cut out, stage, fix, and export your photos, which tool to use at each step, and the mistakes that make beginner photos look amateur. No jargon, no studio required.
What are AI product photos, exactly?
An AI product photo is a photo of a real product improved or restaged by artificial intelligence. You start with a real photo of your actual item — the buyer must receive what the photo shows — and the AI does one or more of four jobs:
- Background removal. The AI separates your product from whatever was behind it and deletes the background, leaving a clean cutout. This is the oldest and most reliable AI photo job.
- Scene generation. The AI places your cutout into a new setting — a marble counter, a beach, a living room — and adds matching shadows and reflections.
- Enhancement and upscaling. The AI sharpens a soft photo, fixes dull lighting and colors, and increases the resolution so a phone photo meets a marketplace's minimum size. "Upscaling" means making an image bigger without it turning blurry.
- Cleanup. The AI removes dust, scratches, stray objects, and price tags, or extends the edges of a photo framed too tightly. In editors this is called "generative fill" or "magic eraser."
What they are not: fully fake product images. A tool can generate a picture of a perfume bottle from a text prompt, but that bottle is not your bottle — the label will be gibberish and the shape wrong, and using it in a listing would mislead buyers. The honest workflow always starts with a real photo of your real product.
What you need before you start
You need less than you think. Here is the complete kit:
- A smartphone made in the last five years. Use the rear camera, not the selfie camera — it is sharper. Wipe the lens first; a fingerprint on the lens is the most common reason beginner photos look hazy.
- Daylight, or one cheap lamp. The best free light is a window on a cloudy day or in indirect sun. At night, a single desk lamp with a white bulb, bounced off a white wall, beats a phone flash every time. Never use the phone flash — it creates a harsh bright spot and hard shadows.
- A plain background. A white poster board, a white bedsheet, or a plain wall. White is safest — Amazon wants it for the main image anyway — and background removal works best when the product stands out clearly.
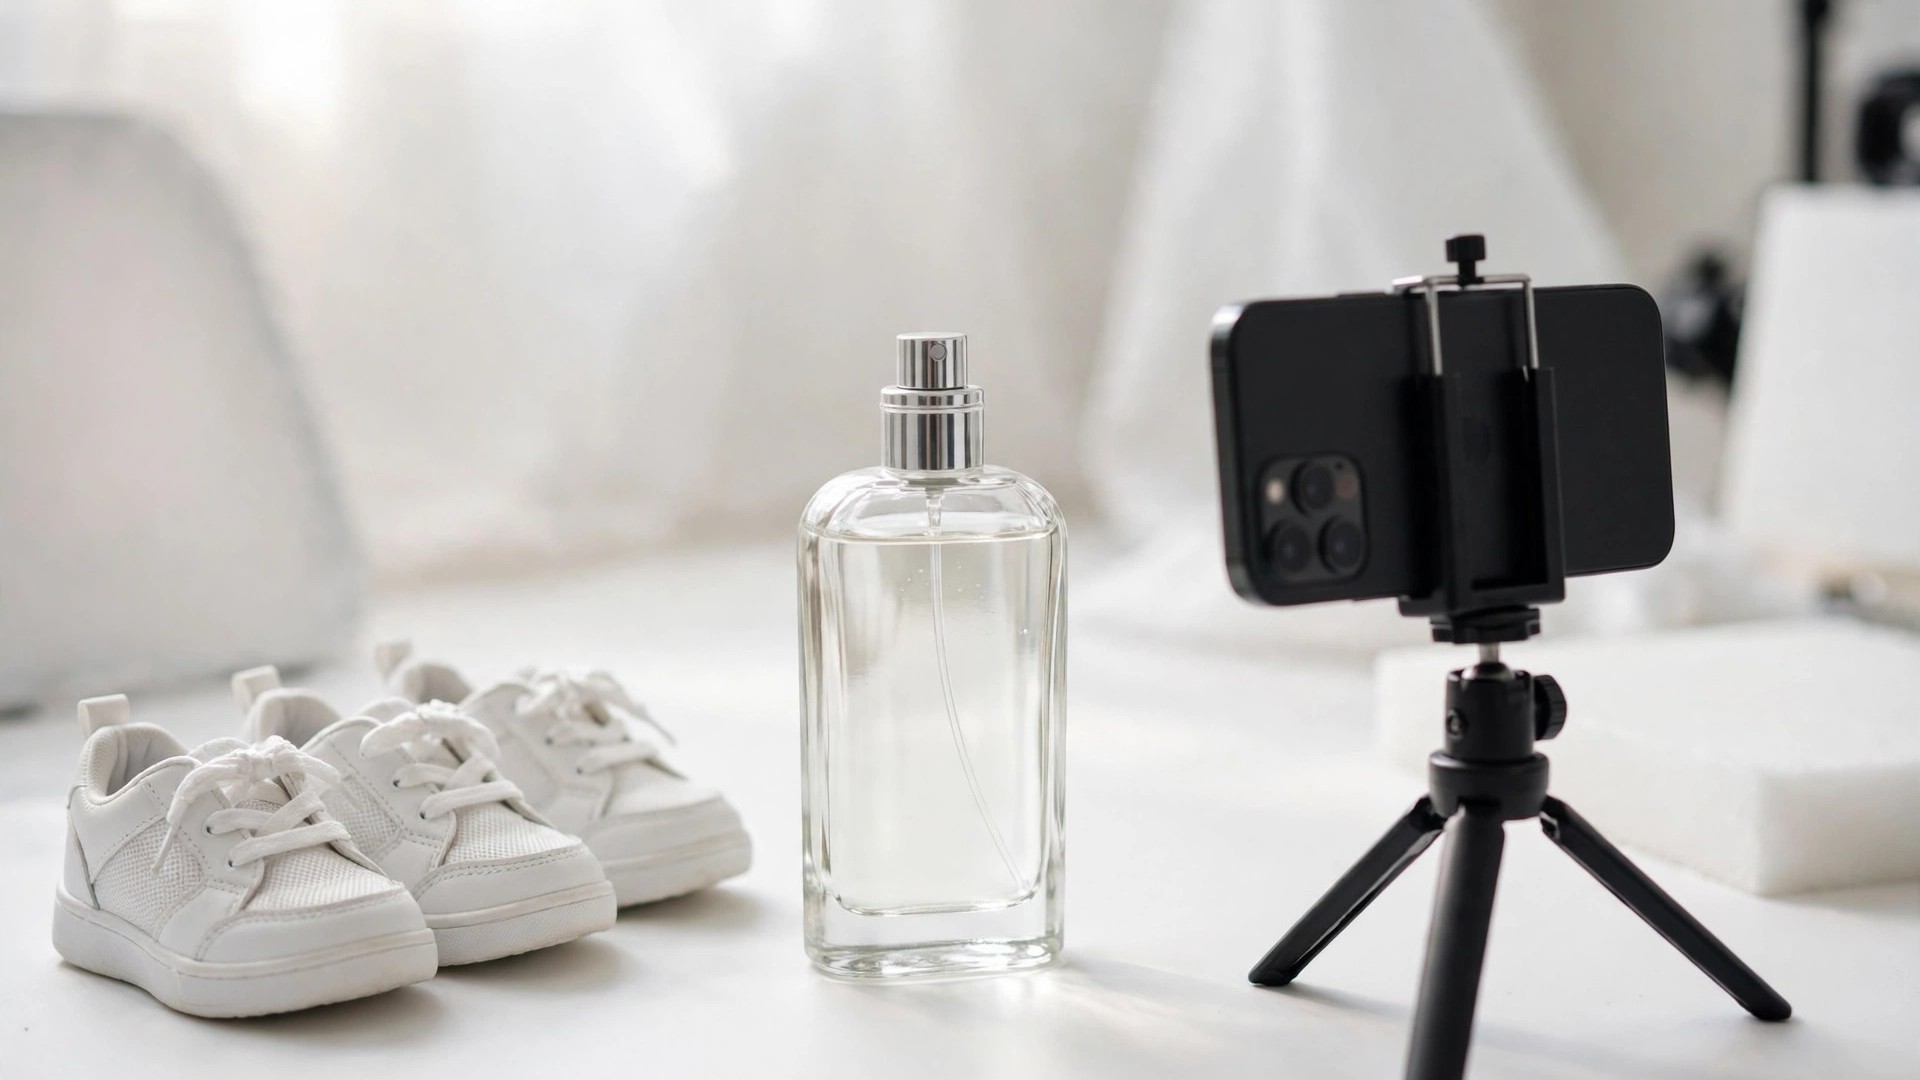
- Something to hold the phone steady. A small phone tripod costs a few dollars and is worth it. Without one, stack books and lean the phone against them, or use the timer so your hand is not shaking the camera.
- One AI tool account. Start with one free plan — Pixelcut or Photoroom — and add a second tool only when you hit a job the first one cannot do.
- Your product, clean. Wipe fingerprints, dust, and smudges off before you shoot — every fingerprint shows up ten times bigger in a close-up.
That is the whole kit — no lightbox, no paid plan. Add those later if you start selling in volume.
Step 1: Shoot the product well (10 minutes that save an hour)
AI tools work with what you give them. A well-shot phone photo needs almost no AI help; a bad one needs so much fixing that the result looks fake. Spend ten minutes here and the rest gets easy.
Set up the light first. Put your white background near a window, with the light coming from the side rather than from behind you or behind the product. Side light shows the product's shape and texture; light from directly behind the camera flattens everything. If the sun shines directly through the window, hang a thin white sheet over it to soften the light — photographers call this "diffusing" it, and it is the cheapest upgrade you can make.
Put the product in the middle, with space around it. Leave a clear margin on every side. AI tools need that margin to cut the product out cleanly and to extend the scene later. A product crammed against the edge cannot be reframed.
Shoot straight on, at the product's level. For most products — bottles, boxes, shoes, mugs — put the phone at the same height as the middle of the product and shoot straight at it. Shooting down makes bottles look short; shooting up distorts the shape. Flat products like books or t-shirts are best shot from directly above.
Take several angles. At minimum: straight-on front, a 45-degree angle, the back or label, and one close-up of the detail that sells it — the texture, the clasp, the stitching, the label. Buyers trust a listing with five honest angles far more than one perfect hero shot.
Use your phone's best settings. Turn off the flash. Turn on the grid lines and put the product on the center lines. Do not use "portrait mode" for product photos — it blurs the edges, and that blur confuses background-removal AI. Shoot in the highest resolution your phone offers.
Check each shot at full size before moving on. Pinch to zoom and look at the label, the edges, and the background. If the label is unreadable or an edge is fuzzy, reshoot now — it takes twenty seconds, while fixing it later takes twenty minutes and looks worse.
Step 2: Remove the background
This is the first AI step, and the easiest. Upload your photo to a background-removal tool — Photoroom and Pixelcut both do this free on your phone — and the AI cuts the product out in a few seconds.
How to do it well:
- Start with the cleanest, brightest shot you took. Background removal works best when the product is clearly different from the background.
- Zoom in on the edges after the cutout. Look for fuzzy halos, missing bits (a thin handle, a strap), and chunks of background left behind. Glass, jewelry, fur, and anything transparent are the hardest cases — the AI often eats a corner of a glass bottle.
- Use the manual fix tools. Every good background remover has a brush to erase leftover background or restore a piece the AI removed. Spend two minutes here.
- Add a shadow back in. A product floating on pure white with no shadow looks like a sticker. Photoroom's AI Shadows adds a soft contact shadow under the product — the single biggest realism upgrade in this step. Keep it subtle: a faint grey shadow, not a black blob.
- Export at the highest resolution the tool allows. A cutout exported at 1,000 pixels cannot be enlarged later without going soft, and marketplaces want 2,000 pixels.
What to watch out for: some free plans, including Photoroom's, are licensed for personal use only as of November 2026 — you cannot legally use their free output in a store. Pixelcut's free exports carry no watermark, but its commercial license is listed on paid plans. Read the license line before you publish.
Step 3: Generate a scene (or keep it simple)
Once you have a clean cutout, you have a choice: keep the plain white background, or place the product in a scene. Most good listings use both — white for the main image, lifestyle scenes for the extras and social media.
When to keep it white. Amazon requires a plain white background for the main listing image, and white is also the most honest format for shoppers. If you sell on Amazon, your hero shot stays white.
When to generate a scene. For your own website, Etsy, Instagram, and ads, a scene sells the feeling of the product. Scenes are where Flair AI and Pebblely earn their keep.
How to generate a good scene:
- Pick a scene that fits the product's real life. A kitchen gadget belongs in a kitchen; a face cream belongs on a bathroom shelf, not on a beach.
- Keep the product the hero. The scene should frame the product, not compete with it. One or two props are enough — a leaf, a towel, a cup of coffee. A busy scene makes the product disappear.
- Generate three or four versions and pick the best. Scene generation is random — the first result is rarely the best. Keep the one where the product looks untouched.
- Check the product, not the scene. Zoom in on the label, the logo, the colors. If the AI changed the product itself — warped text, a different shade, an added detail — discard that version and regenerate.
Flair AI versus Pebblely, in one paragraph: Flair AI gives you a canvas where you place the product, props, and surfaces by hand — more control, slower, better for a hero image you will use everywhere. Pebblely gives you one-click themed backgrounds — pick a theme, get a scene — faster, better for working through a catalog. Flair AI's free plan includes 5 generated images a month; Pebblely's pricing page as of October 2026 lists no free plan, so check the official site before counting on a free trial.
Step 4: Fix mistakes and keep the product looking real
This is the step beginners skip, and the one that separates photos that sell from photos that look AI-generated. Run through this checklist before you export:
- Is the product itself unchanged? Compare the finished image with your original photo. Same shape, same colors, same label text, same logo. If anything on the product moved or changed, fix it or regenerate.
- Do the shadows make sense? Every object should cast a shadow in the same direction, and the shadow should be soft, not a hard black outline. A missing shadow makes a product look like it is floating; a shadow pointing the wrong way makes the whole image feel wrong.
- Are the reflections believable? Glossy products — glass, metal, jewelry — reflect their surroundings. A bottle on a marble counter should show a faint reflection. If the reflection looks painted on, tone it down or drop the scene.
- Does it look like one photo? Squint at the image. If your eye can tell where the real photo ends and the generated scene begins — a sharp edge, a color shift — so can a buyer. The fix is usually a softer scene or a simpler background.
Cleanup tools for this step: Adobe Firefly's Generative Fill (built into Photoshop and the Firefly web app) is the strongest here — brush over a dust spot, a stray cable, or a price tag and describe what should replace it. On paid plans its standard image features are unlimited, from $9.99 a month as of November 2026; the free plan gives limited daily generations. Canva's Magic Eraser does the same job but is a Pro feature ($18 a month or $144 a year). For most beginners, the eraser inside Pixelcut or Photoroom is enough; reach for Firefly for tricky cleanup.
Step 5: Upscale and export for each platform
Your photo is finished. The last step is exporting it at the right size — where beginners lose quality without realizing it. Every JPG save loses detail, and every enlargement makes an image softer. Export once, at the largest size you need, and make smaller copies from that master file.
The sizes that matter:
- Amazon: at least 1,000 pixels on the longest side for zoom, 2,000 recommended. Main image on pure white.
- Etsy: 2,000 pixels on the shortest side recommended.
- Shopify and your own website: 2,048 pixels on the longest side — sharp on retina screens, small enough to load fast.
- Instagram: 1,080 pixels wide for feed posts, 1,080 by 1,920 for stories and reels covers. Square 1:1 or portrait 4:5 for the feed.
- Facebook and Pinterest: 1,200 pixels wide is a safe minimum; Pinterest favors tall 2:3 images.
Upscaling: if your original photo is smaller than the size you need, an AI upscaler can enlarge it while adding back plausible detail. Claid is the best tool in this guide for that job — it is built for ecommerce catalogs and keeps labels, textures, and product edges intact while raising resolution. Its free trial gives 50 web credits to test with, and paid plans start from $15 a month ($9 a month billed yearly) as of November 2026. Pixelcut's upscaler also works for a quick boost, with limited upscaling on its free plan. Two honest warnings: upscaling cannot invent detail that was never in the photo, and never upscale the same image twice.
Export settings that matter: save as JPG at quality 85–90 for listings and social media; save as PNG only if you need a transparent background. Keep the color space sRGB — the web standard. And keep one master copy of every finished photo in a folder, named by product and angle, so you are never re-editing from a compressed Instagram download six months later.
The best tools for each step, compared
Here are the seven tools we verified for this guide, organized by the job they do best. Prices were checked against vendor pricing pages in October and November 2026 — check the official site before you buy, as prices change often.
#1 · Pixelcut · Best free start and budget pick
- Free tier
- Yes — limited background removal and upscaling, exports without a watermark
- Paid from
- $10/month ($8/month billed yearly)
- Best for
- Beginners and small sellers on a budget
Detail
1. Pixelcut — best free start and budget pick
Pixelcut is a mobile-first editor with AI product photography, AI backgrounds, a bulk editor, and upscaling, on iOS, Android, the web, and an API. Its free plan is the most honest in this guide: limited background removal and upscaling, but exports without a watermark. The help center describes free access as roughly 3 uses a day.
Pro costs $10 a month, or $8 a month billed yearly, and adds 600 AI credits a month, unlimited background removal and upscaling, 1,000 batch exports a month, and a commercial license — the important line, since the free plan's license is less clear.
Pixelcut
Strengths
- Free plan exports without a watermark — genuinely rare.
- Cheapest paid plan in this guide at $8 a month billed yearly.
Weaknesses
- Free plan caps are tight — roughly a few uses a day.
#2 · Photoroom · Best background removal and batch work
- Free tier
- Yes — personal use only, limited exports
- Paid from
- $12.99/month ($7.50/month billed yearly)
- Best for
- Sellers who cut out lots of photos
Detail
2. Photoroom — best background removal and batch work
Photoroom is the best-known AI photo editor for products: instant background removal, retouching, AI shadows, and resizing, in apps for iPhone, Android, and the web, plus an API. Its batch editor processes up to 250 images at once on paid plans, which is why sellers with real catalogs end up here.
The free plan includes the background remover with limited monthly exports and web exports capped at 2,000 by 2,000 pixels. The decisive detail is the license: the free plan is for personal, non-commercial use only. Pro is $12.99 a month, or about $7.50 a month billed yearly ($89.99 a year), with 1,000 exports a month.
Photoroom
Strengths
- The most reliable background removal in this guide, especially for batches.
- AI Shadows make cutouts read as real photos, not stickers.
Weaknesses
- Free plan is personal-use only — sellers cannot use it free.
#3 · Flair AI · Best styled scenes with full control
- Free tier
- Yes — 5 generated images + 1 video a month, 1 custom model
- Paid from
- $10/month ($8/month billed yearly)
- Best for
- Hero images and lifestyle scenes
Detail
3. Flair AI — best styled scenes with full control
Flair AI is a canvas-based tool for AI product photography and branded marketing visuals. Instead of describing a scene and accepting what comes back, you place the product, surfaces, and props by hand on a canvas, then generate. It also trains custom models on your product, so repeated shoots stay consistent.
The free plan includes 1 custom model, 5 generated images, and 1 video generation a month. Pro is $10 a month ($8 billed yearly); Pro+ is $35 a month ($26 billed yearly) with 80 generated images a month and a commercial license. Note: instant and ad generations cost four times the standard image quota.
Flair AI
Strengths
- The most control over composition — you place everything by hand.
- Custom models keep your product consistent across shoots.
Weaknesses
- Slow — the canvas workflow takes minutes per image, not seconds.
#4 · Pebblely · Fastest one-click scenes
- Free tier
- Not advertised on the pricing page (Oct 2026) — check the official site
- Paid from
- $9/month Lite (30 images)
- Best for
- Fast themed backgrounds with no setup
Detail
4. Pebblely — fastest one-click scenes
Pebblely is the simplest tool on this list. Upload a product, pick a theme — kitchen, beach, studio, and 40 or more others — and it adds the scene in one click. There is no canvas, no positioning, and no composition decision to make.
Pricing is by image volume: Lite is $9 a month for 30 images, Basic is $19 a month for 200 images with bulk generation, and Pro is $39 a month for 500 images; annual billing drops those to roughly $7.50, $15, and $32. The free situation is murky: older sources describe a 40-image free tier, and as of October 2026 the pricing page listed only the three paid tiers. Check pebblely.com before counting on a free plan.
Pebblely
Strengths
- The fastest workflow here — one click from upload to finished scene.
- 40+ themes cover most product categories without prompting.
Weaknesses
- No free plan currently advertised — paid from day one.
#5 · Canva · Best all-rounder for sellers who also design
- Free tier
- Yes — small monthly AI allowance; Background Remover is Pro-only
- Paid from
- $18/month Pro ($144/year)
- Best for
- Photos plus social posts in one place
Detail
5. Canva — best all-rounder for sellers who also design
Canva's AI features — grouped under the Magic Studio name, now sold as Canva AI — include background removal, Magic Edit, Magic Eraser, Magic Expand, and Magic Resize, inside the editor most small sellers already use. The appeal is the whole workflow in one place: remove the background, drop the product into a social post, add text and your logo, and resize it for every platform.
The free plan includes a small monthly AI allowance (around 20 Standard or Premium AI uses a month as of October 2026), but the Background Remover is a Pro feature. Pro is $18 a month or $144 a year. Canva has changed its pricing and allowances more than once, so confirm at canva.com/pricing. For a deeper comparison, see our best AI image generators roundup.
Canva
Strengths
- Photo editing, text, and social sizes in one familiar editor.
- Magic Resize adapts one design to every platform instantly.
Weaknesses
- Background Remover is Pro-only — the free plan cannot do the core job.
- AI allowance is shared across every AI feature, so heavy use runs out fast.
#6 · Adobe Firefly · Best cleanup and generative fill
- Free tier
- Yes — limited daily generations (count not published)
- Paid from
- $9.99/month Standard
- Best for
- Fixing and extending real photos
Detail
6. Adobe Firefly — best cleanup and generative fill
Adobe Firefly is Adobe's generative AI platform — a web app plus the engine behind Generative Fill in Photoshop — covering image generation, editing, video, and audio. For product photos, its job is cleanup and repair: remove an object, extend a background, or fix a label edge. It is trained on licensed Adobe Stock content.
The free plan gives limited daily generations, though Adobe does not publish the exact count. Standard is $9.99 a month with 2,000 generative credits and unlimited standard image features, including Generative Fill; Pro is $19.99, Pro Plus $49.99, and Premium $199.99. Credits only matter for video, audio, and partner models.
Adobe Firefly
Strengths
- The strongest cleanup tool here — Generative Fill is genuinely good.
- Unlimited standard image features on every paid plan.
Weaknesses
- Not a product-photo specialist — no one-click scenes or catalog workflow.
- Free tier is small and the daily count is not published.
#7 · Claid · Best enhancement and upscaling
- Free tier
- Free trial — 50 web credits + 50 API credits (one-time)
- Paid from
- $15/month Essentials ($9/month billed yearly)
- Best for
- Rescuing low-quality photos and catalog work
Detail
7. Claid — best enhancement and upscaling
Claid is an ecommerce image platform combining AI upscaling with product-photo generation and catalog preparation, as a web app and an API. Its real strength is enhancement: recovering resolution while keeping labels, textures, and product edges intact. It also removes backgrounds, adds shadows, and corrects light and color.
The free trial gives 50 web credits plus 50 API credits — a one-time trial, not a recurring free tier. Essentials is $15 a month ($9 billed yearly) for 500 credits, Pro is $49 a month ($35 billed yearly) for 2,000 credits with 4K generation and batch processing. Credits are charged per operation: background removal 1 credit, an AI Photoshoot 4 credits at standard quality or 10 at Studio Quality.
Claid
Strengths
- The best enhancement and upscaling for product photos in this guide.
- Keeps labels and textures intact where other upscalers smear them.
Weaknesses
- Free trial is one-time only — no recurring free tier.
- Credit pricing is confusing until you learn what each operation costs.
Pricing changes often — treat every figure above as a snapshot from October–November 2026 and check the official site before buying.
A complete example: one perfume bottle, 15 minutes, $0
Here is the whole workflow on one product — a glass perfume bottle — using only free plans. Minutes 0–5: shoot. Wipe the bottle, put a white poster board next to a window, and stand the bottle in the middle. Put your phone on a small tripod at the bottle's height, turn off the flash, and take five shots: straight on, 45 degrees, the back label, the nozzle close-up, and the bottle with its box. Minutes 5–8: cut out. In Pixelcut, remove the background, fix the edges with the restore brush, add a soft shadow, and export at the highest resolution. Minutes 8–12: make the scene. In Flair AI, build a simple scene — light marble surface, soft daylight, one green leaf — generate three versions, and pick the one where the bottle and label look exactly like your original photo. Minutes 12–15: check and export. Compare the scene with the original at full size, export at 2,000 pixels, and save a master copy. Total cost: $0.
Common mistakes beginners make
- Starting with a bad photo. Dark, blurry, or crooked source photos produce bad AI results. Fix the light and framing before you open any tool.
- Publishing the first generation. Scene generation is random. The first result is often the weakest — generate three or four and compare them.
- Not checking the product itself. The most expensive mistake in this guide. A warped label or a changed color means a buyer receives something different from the photo — a return, a bad review, or a dispute. Check the product at full size, every time.
- Forgetting the shadow. A cutout with no shadow looks pasted. Add a soft contact shadow, or keep a faint natural shadow from the shoot.
- Overdoing the scene. Five props and a patterned background make the product disappear. One or two props, a calm background, and the product front and center.
- Ignoring the license. Free plans from Photoroom and others are personal-use only. Using free output in a store without a commercial license is not a gray area.
- Exporting too small. A 1,000-pixel image cannot be enlarged later. Export at 2,000 pixels or larger and keep a master copy.
- Trusting the AI with text. AI still garbles text on labels, logos, and packaging. Verify every letter after generation.
Budget reality: $0 to start on free plans, then $8–$15 a month for one paid plan when you get serious — Pixelcut Pro ($8 a month billed yearly), Photoroom Pro (about $7.50 a month billed yearly), or Claid Essentials ($9 a month billed yearly). Do not buy a lightbox and a second tool in your first week; shoot ten products free first. If you sell on Etsy, our best AI tools for Etsy sellers guide covers the rest of the seller stack, and our best AI SEO tools roundup covers the search side of selling online. Good photos bring the click; good SEO brings the visitor.
Which tool should you pick?
- Just starting, zero budget → Pixelcut. Free plan, no watermark, works on your phone. Upgrade to Pro at $8 a month billed yearly when the daily caps slow you down.
- Dozens of products to cut out → Photoroom Pro. The best batch editor and the most reliable background removal, with AI shadows that make cutouts look real.
- Beautiful lifestyle scenes → Flair AI. The canvas gives you control no one-click tool can match. Start on the free plan's 5 images a month.
- Scenes with zero effort → Pebblely. One click, one theme, done. There is no free plan currently advertised, so budget $9 a month from the start.
- You already live in Canva → Canva Pro. The background remover and Magic Resize are worth $18 a month if you also make social posts and ads there.
- Photos need rescuing → Claid. Blurry or badly lit source photos go here first. Test it with the 50-credit free trial.
- Tricky cleanup → Adobe Firefly. Generative Fill is the best eraser and extender in this guide, and Standard at $9.99 a month makes it unlimited.
Still unsure? Start with Pixelcut today, photograph three products, and see where you get stuck. The tool that fixes your actual problem is the right tool. For a broader look, our best AI photo editors and best AI image generators roundups compare the field.
Frequently asked questions
Can I create AI product photos for free?
Yes. Pixelcut and Photoroom both offer free plans covering background removal, Flair AI gives 5 free images a month, and Adobe Firefly has a free tier with limited daily generations. The catch is licensing: some free plans are for personal use only, so read the license before using free output in a live store.
Do I need a professional camera to make AI product photos?
No. A modern smartphone is enough for most small sellers. Shoot in good natural light near a window, clean the lens, use the rear camera, and keep the product still.
Will AI change how my product looks?
It can, and that is the biggest risk. Scene generators rebuild the pixels around your product, and sometimes alter the product itself — warping a label or changing a color. Always compare the result against the original photo at full size, and regenerate if the product itself looks different. Never publish a photo where the product does not match what the buyer will receive.
What size should product photos be for Amazon and Etsy?
Amazon requires at least 1,000 pixels on the longest side for zoom and recommends 2,000; Etsy recommends 2,000 pixels on the shortest side. Export your finished photos at 2,000 pixels or larger and use a plain white background for the main image on Amazon. Check each marketplace's current image rules before uploading.
Which AI product photo tool is best for beginners?
Start with Pixelcut or Photoroom. Both are simple, work on your phone, and have free plans for background removal. For styled lifestyle scenes, try Flair AI or Pebblely next. If your phone photos are blurry, Claid is the best tool for cleaning them up first. There is no single best tool — it depends on whether you need cutouts, scenes, or cleanup.